
Asia is a haven for wellness enthusiasts seeking to restore their minds, bodies, and souls. From tranquil beachfront spas to serene mountain sanctuaries, the continent offers an array of rejuvenating retreats tailored to relaxation, healing, and holistic wellness. Whether you’re looking to detox, meditate, or reconnect with nature, here are the best wellness retreats in Asia to explore in 2025.
1. Ananda in the Himalayas, India
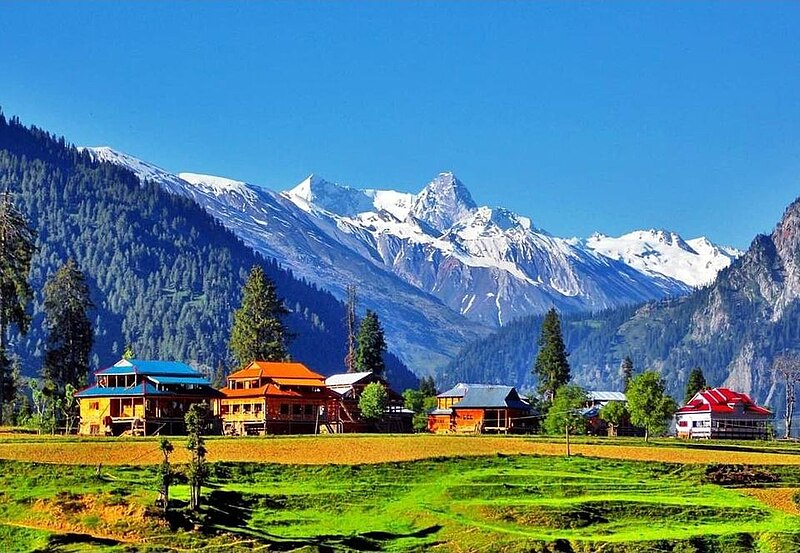
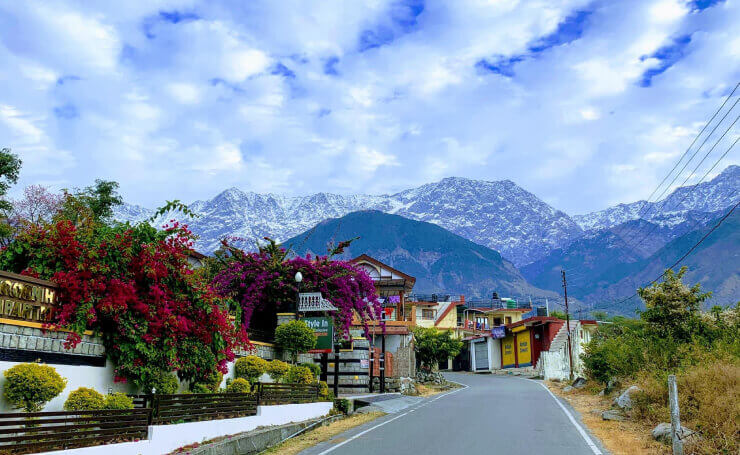
Tucked away in the foothills of the Himalayas, Ananda is a luxury wellness retreat known for its transformative Ayurvedic therapies and spiritual programs. Guests can immerse themselves in personalized wellness plans that include yoga, meditation, detox treatments, and massages. The breathtaking views of the Ganges River and lush forests add to its calming ambiance.
Pro Tip: Book an Ayurveda consultation to tailor your treatments to your unique dosha type.

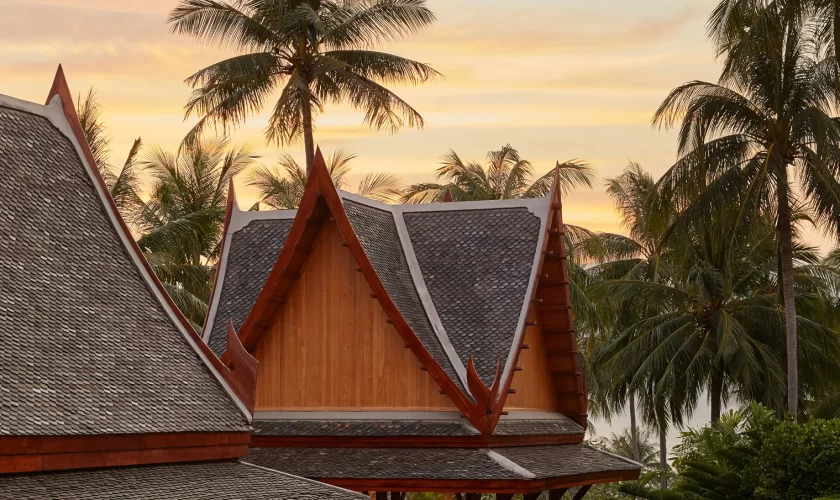
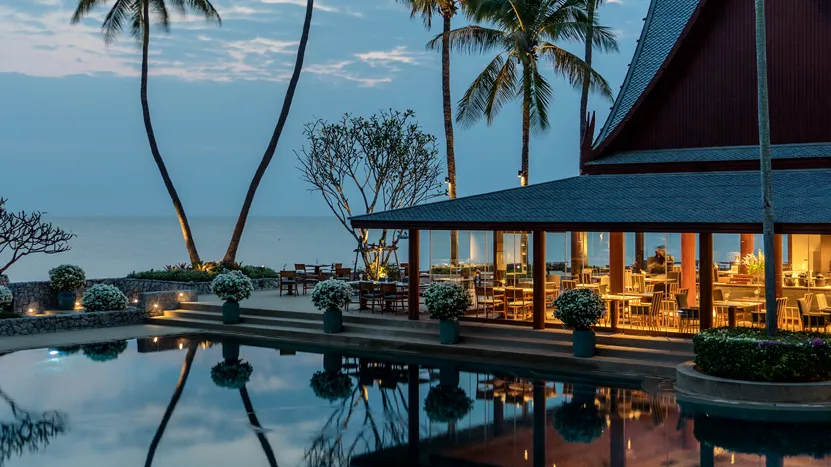
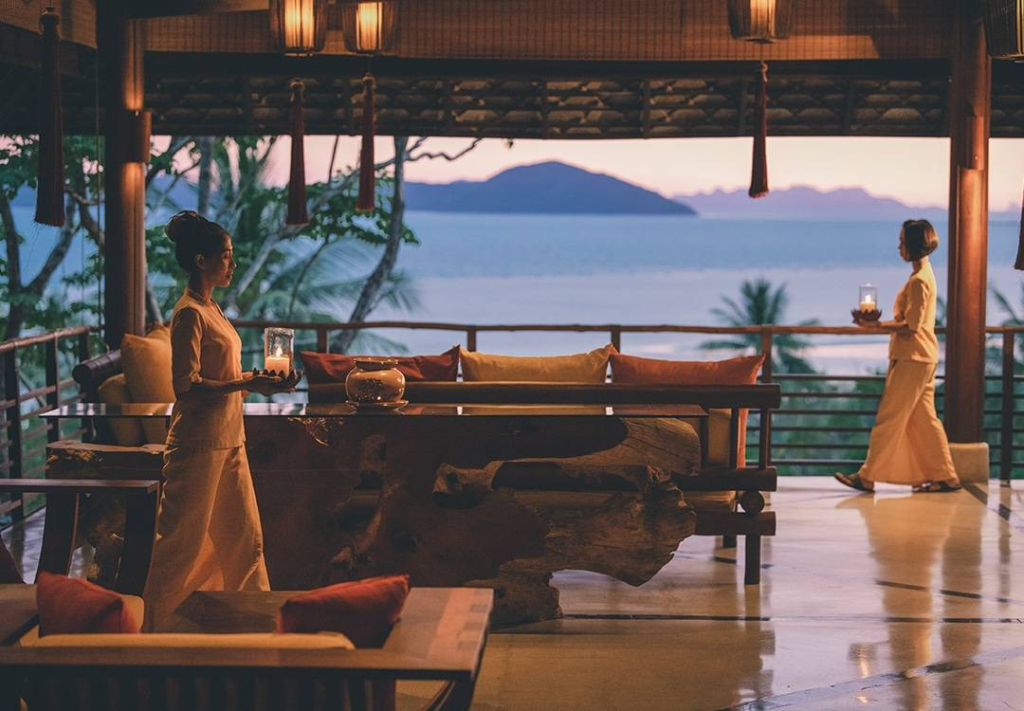
2. Kamalaya, Thailand
Nestled on the tropical island of Koh Samui, Kamalaya is a world-renowned holistic wellness retreat. It offers an impressive range of programs, including stress relief, detoxification, weight management, and emotional balance. Guests can enjoy healthy cuisine, ocean-view spa treatments, and guided meditations in a serene, lush setting.
Pro Tip: Don’t miss the hillside plunge pool for an extra dose of relaxation with stunning views.
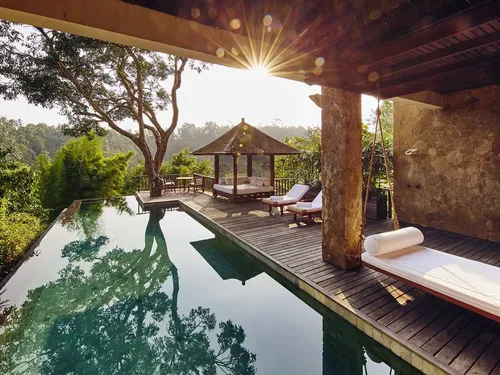
3. COMO Shambhala Estate, Bali, Indonesia
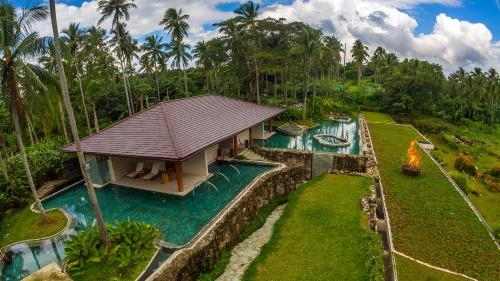
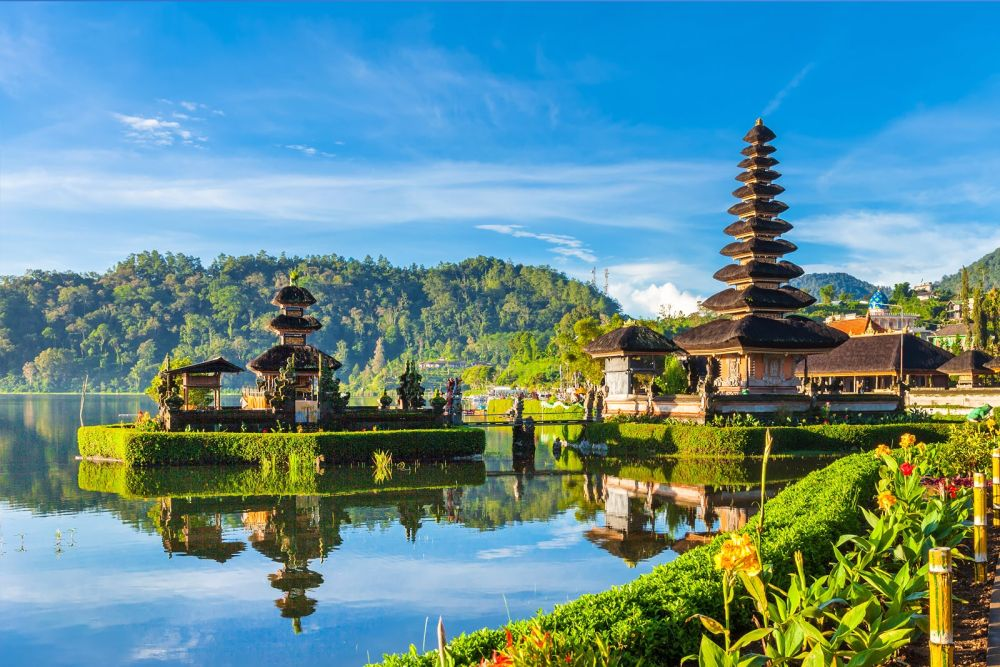
Known as a “Retreat for Change,” COMO Shambhala Estate in Bali combines luxury with wellness. It offers customized wellness programs, from yoga and Pilates to Ayurveda and hydrotherapy. The estate’s villas are surrounded by tropical rainforest, providing a tranquil setting for self-discovery and rejuvenation.
Pro Tip: Try their signature hydrotherapy pool to boost circulation and relax muscles.
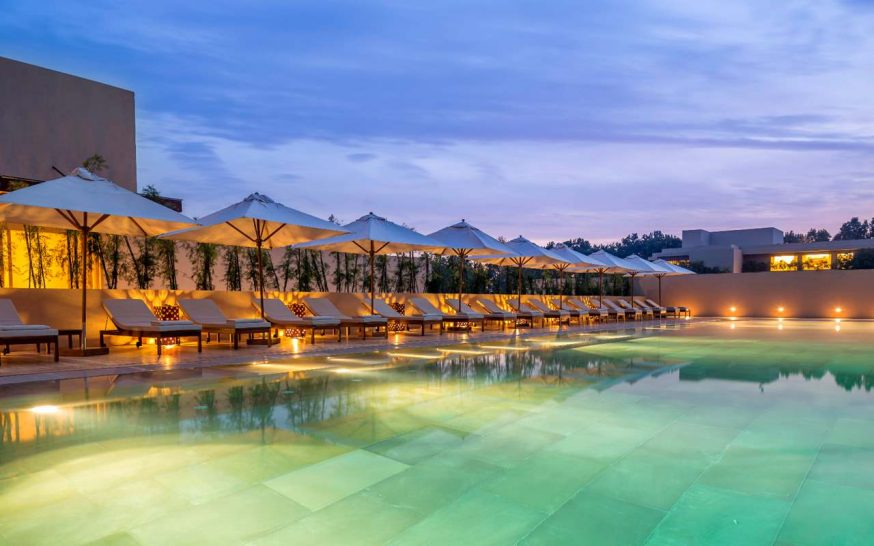
4. Chiva-Som, Thailand
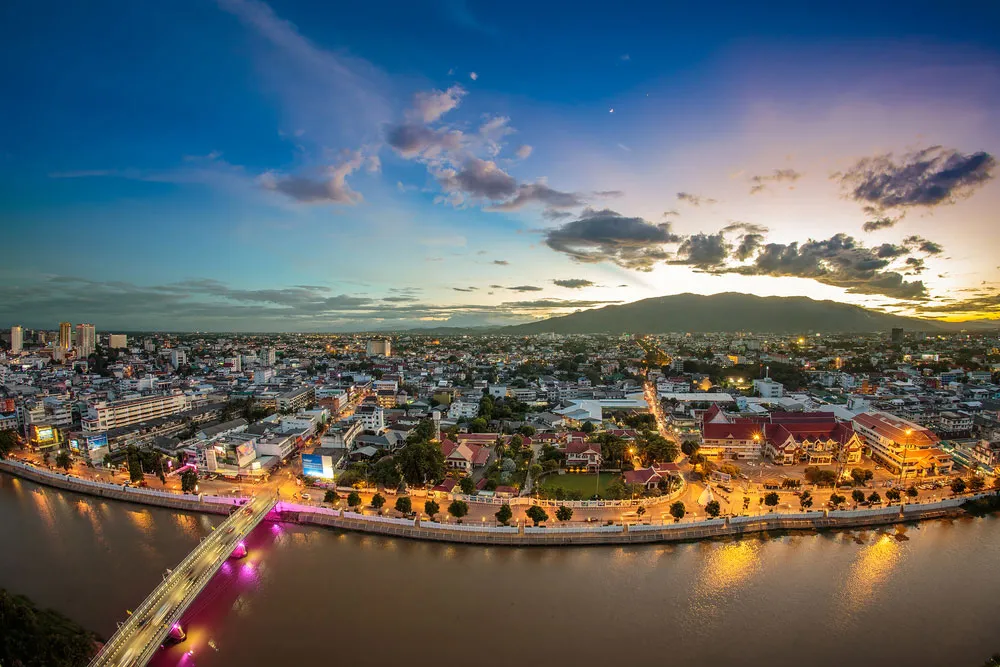
Located in Hua Hin, Chiva-Som is a pioneer in wellness tourism. The retreat provides tailored programs focused on physical fitness, emotional well-being, and lifestyle improvement. Its state-of-the-art facilities include a Watsu pool, fitness studios, and meditation pavilions. Healthy cuisine is a highlight, featuring locally sourced, organic ingredients.
Pro Tip: Attend a wellness workshop to gain insights into maintaining balance at home.
5. Six Senses Douro Valley, Portugal (Asian-Inspired Programs)
While not in Asia, Six Senses Douro Valley incorporates Asian-inspired wellness programs that draw from holistic practices like acupuncture, yoga, and meditation. This retreat is perfect for travelers looking to experience Eastern wellness philosophies in a European setting, complemented by scenic vineyards.
Pro Tip: Combine your wellness journey with a wine-tasting experience for a unique balance.

6. Vana Retreat, India
Vana, located in Dehradun, offers a harmonious blend of traditional Ayurveda, Tibetan healing, and Sowa Rigpa practices. The retreat’s minimalist architecture and focus on sustainability create a peaceful environment ideal for detoxing and reconnecting with yourself.
Pro Tip: Participate in the group chanting sessions for a deeply meditative experience.
7. Shreyas Retreat, India
This boutique retreat near Bangalore is perfect for those seeking a personalized wellness journey. Shreyas integrates yoga and Ayurveda into its programs, offering activities like organic farming, silent retreats, and mindful cooking classes. Its intimate setting ensures undivided attention from the staff.
Pro Tip: Experience their outdoor yoga sessions at sunrise for an uplifting start to your day.
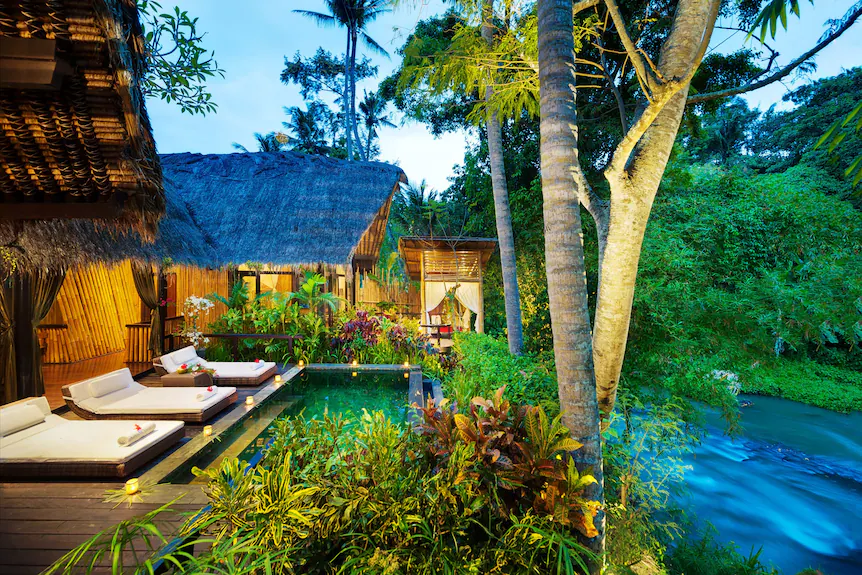
8. Fivelements Retreat, Bali, Indonesia
Fivelements focuses on healing through traditional Balinese methods. Set along the Ayung River, it provides an intimate setting for yoga, plant-based cuisine, and spa rituals. Their Sacred Arts program allows guests to explore ancient Balinese traditions like water blessings and fire ceremonies.
Pro Tip: Book the riverside wellness suite for the ultimate serene experience.
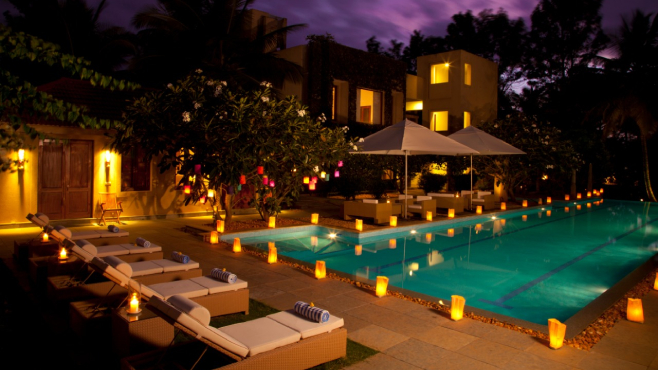
9. The Farm at San Benito, Philippines
Located in Batangas, The Farm at San Benito offers a holistic approach to wellness with programs that focus on detox, weight loss, and disease prevention. Guests can indulge in organic vegan cuisine, eco-friendly accommodations, and medical spa treatments in a tropical paradise.
Pro Tip: Try the “Alive!” vegan restaurant for a unique dining experience that nourishes your body and mind.
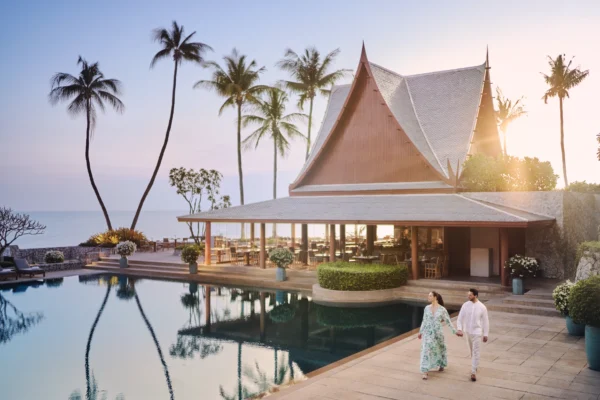
10. Amanpuri, Thailand
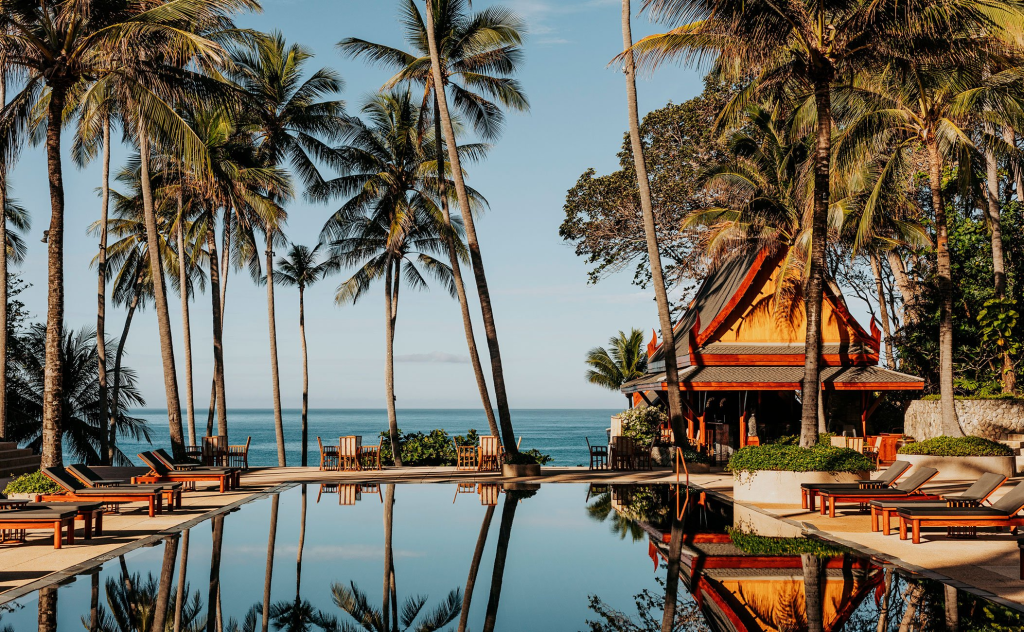
Amanpuri in Phuket is synonymous with luxury and holistic wellness. The resort’s programs include intensive fitness training, emotional healing, and detoxification. Guests can relax in private villas, practice yoga on the beach, and enjoy spa treatments tailored to their needs.
Pro Tip: Take a sunset yoga session to unwind after a day of wellness activities.
For more, you can also check our topics on:-
- Digital Nomad Hotspots in Asia: Where to Work and Wander
- A Food Lover’s Guide to Asia: Best Street Eats in 2025
- 10 Places to Visit if You Are a Mountain Lover
- Places to Visit and Learn Local Traditions Around the World
- Top Amusement Parks in Asia for Family Fun in 2025
Final Thoughts
Asia’s wellness retreats offer more than just relaxation—they provide transformative experiences that nurture your body, mind, and soul. Each retreat is a unique blend of culture, tradition, and luxury, ensuring there’s something for everyone. In 2025, take a step back from the chaos of daily life and immerse yourself in one of these sanctuaries to rejuvenate and rediscover yourself.
Where will your wellness journey take you?


