Brawl Stars game for Android is an arcade game which is basically developed for Android Smartphones and trial run for iOS. If we talk about Android games then there are wide varieties of games available in Google Play, as well as in Apk forms. Initially, we want to inform you one thing that Brawl Stars is still not released or published officially. It is now available in beta version only. But there is no issue as you can easily able to download the Apk file and install it on your device. As this is an Arcade game, so you need not think about the levels. This game comes with uncountable levels thus you need to care about for highest scores only.
Here you need to shoot’em up, blow’em up, punch and win the game with best scores. Collect the coins as much you can to get more bonus points and rewards. Collect the bounty to upgrade the items on the game. Thus the entire game is too much use for the user to spend the boring time in a great way. Here in this topic, we will discuss to download and install Brawl Stars game for Android. Besides that, you can get the total features provide by this game for the Android users.
Brawl stars game for Android- Download Apk:
Initially, we will show you the step by step procedure for download the Brawl Stars Apk on Android. Hope some of you already know about the process of download and install Brawl Stars Apk on Android. Still, some of the users are there who have no idea about it. So all of you please follow the below steps and apply the same on your phone.
- Connect your device to the internet and open any of the installed web browsers from your phone. Type the Keyword of the game Brawl Stars and search to download it on your device.
- Go to the preferred recommended link from the search list as choose the download link to get the Brawl Stars Apk for your Device. As this game is not available on Google Play thus you need to choose the Apk file only to install this game.
- After successfully start the download process, wait until the whole file get saved on your phone memory.
- Now let’s get ready for the installation steps from the next subheading which is mentioned below.
Brawl Stars game for Android-Install Apk:
Hope you all have downloaded the Apk file of Stars game for Android successfully. If you are done, then now proceed for the steps to install Brawl Stars game. Follow the below points and apply the same on your phone.
- To install the Apk file on your phone, at first you need to enable the installation from Unknown Sources.
- While performing this operation, you need to open the Phone Settings and after that scroll down to select the category Security and Privacy settings. While you have chosen this option try to go down and you will find Unknown Sources. If the option is already enabled or ticked then leave it as it is. Otherwise, make it enable by tapping it for a single time.
- Now open the downloaded Apk from the file folder and tap once to start the installation process. Once you have started the installation process, it will ask you to grant some of the permissions to access your device files.
- In the meanwhile, the installation will get completed successfully and the game will be ready for play.
Features of Brawl stars game for Android:
Now we will talk about the features provided by this game for the Android users. So have a look on those features mentioned below.
- This game comes with basic four modes. They are Bounty, Smash and Grab Heist and Showdown.
- Get proper updates from the developers after releasing this game.
- To unlock the Brawlers you need to collect more coins, chips etc. and much more.
- If you have an iOS device then you can check this game by playing a trial run.
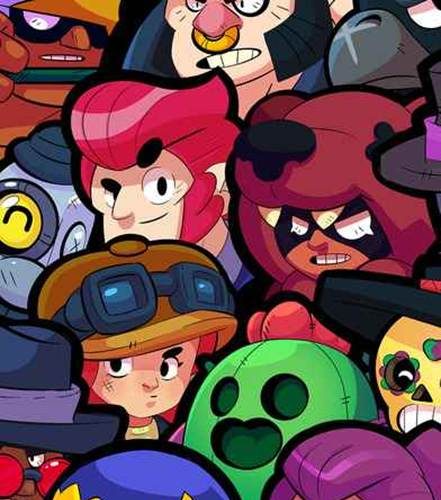
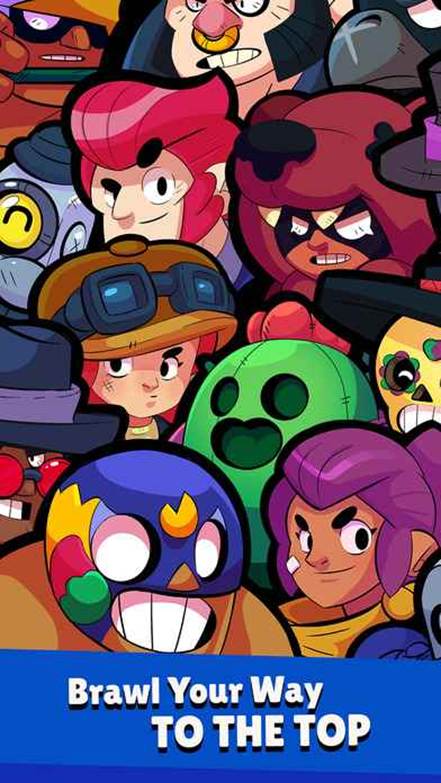
- It has dozens of tough characters with much more abilities to play this game easily.
- User-friendly interface and easy to play this game with other players too.
That’s all about the game Brawl Stars game for Android which is available for free to download. As this game is not released till now so you can’t able to find it on Google Play. Besides that, you can choose the Apk version to have a trial on the beta version of this game. According to the user needs we have provided you all the simple download steps and installations guide to play this game on your Android phone. Hope you all are satisfied with the information which we have given here about Brawl Stars game for Android.