


From last few days, users are facing the issues in posting and accessing various services in Facebook
and other social App. The reason behind facing these issues are networking or any other technical
problem as well. On Monday 3 rd September 2018, Facebook Inc. has declared that some of the
technical issues prevented users from posting and accessing the Facebook interface, Instagram and
WhatsApp as well. Before 3 rd September, many users have facing the network and technical issues
while using the Facebook services. However, the main aim of the Admin or the controllers is to fix
those issues rapidly and provide good services to the users. Thus, we have started to investigate the
issues and quickly start to restore the proper access for everybody. In addition, they have done it
nearly with a lot of energy and tries.
As a result, they are very much happy, as this major issue has sorted out finally. Even the
spokesperson of Facebook has said that ‘We are really sorry for the inconvenience happened with all
users’. The problem is not creating at all in all the regions. However, those who faced this problem
were experienced from last almost one and half-hour.
Issues in other social App – Instagram and WhatsApp:
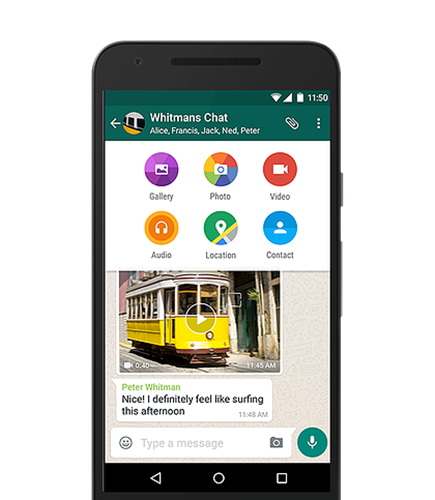
Same like the Facebook, user also gets the issues while using Instagram and WhatsApp. The issues
are just like abnormal experience while using the App interface. If you want to view the post from
your profile wall, it may get freeze or behaving abnormally. Thus for some few moment, the apps get
stucked at a same point without working properly. Those Instagram users who owned their account
by Facebook faced problems while posting or sharing photos. This is a total outage in the App, which
must need some mantainence instantly.
In the meantime, the control centre of Instagram and WhatsApp notified and instantly started to fix
those network as well as other technical issues also. Before 3 rd September 2018, this issue was faced
on last year i.e. 26 th August 2017 9:15 PM according to Singapore time. According to user more than
1800 people was faced this problem on the Facebook Website.