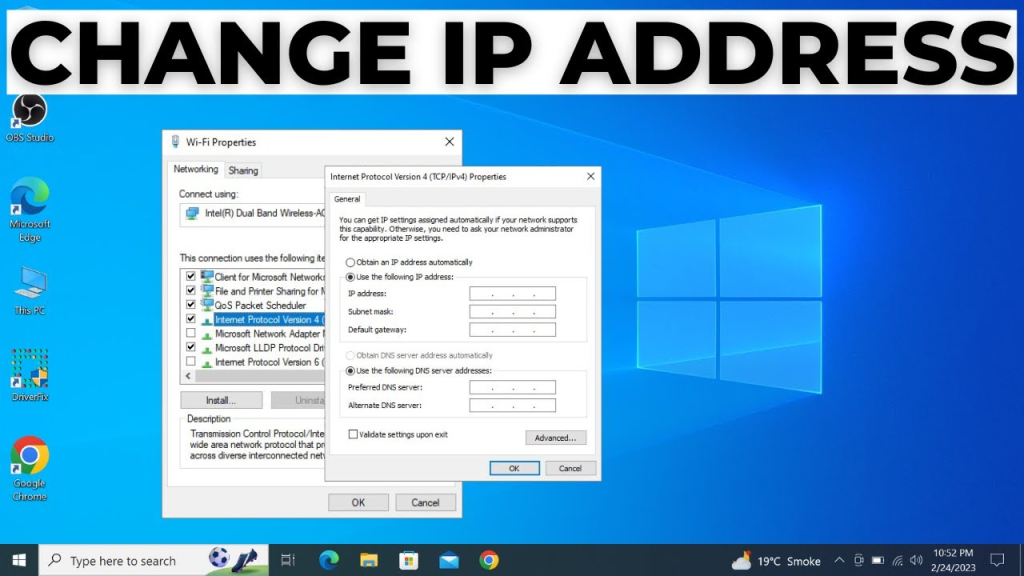
Basically, IP address is the Internet Protocol address which is attached to every system connected to a network. Due to any security reasons, we need to start to change the server’s PC IP addresses as well. The operation is basically done over the network adapter on Windows Management Server, Messaging server, Security server etc. To change the setting you need to use the IP address Settings Wizard. Once you change the IP address of the Server then it will automatically reconfigure the systems connected to it by maintaining the connection stability between server and clients PC.

While you change server’s PC IP address, it will also change the settings and make effects in DHCP and DNS server settings too. Besides that, the Security server, Windows EBS settings in active directory domain services also get change. Thus it will help the whole server to reconfigure and stabilize the overall connection settings over its network. Thus here we will show you that process that how to change server’s PC IP address. The process is a little bit complicated as well. But you can easily apply the whole steps while you follow our context which is completely described below.
Proper Guide – How to Change Server’s PC IP address?
Here in this topic, we will show you the process that how you can able to change the server’s PC IP address by following the below steps. Make sure that you have a proper internet connection and plug in your system with Power source properly. So, let’s start to have a look to make the changes of Server IP address.
- At first, the user needs to have a standard configure PC to make the changes in IP address. To make a system as Server PC you need to install the Server Operating System like Windows Essential Business Server 2008, Windows Server 2012 etc.
- If you have already installed and configured it as a Server PC then leave the previous step. Without the help of Windows Server Operating System, you cannot able to make a simple system into Server PC.
- Now start up your system and log on into the Management server or messaging server with the login credentials as you are the member of Domain Admin group.
- The Click on the Start and then go to the All Programmes menu where you need to select Windows Essential Business Server.
- The new configuration window will open from where you need to choose the Tools option and then click on Change IP Address Settings. The IP address changing Wizard will open instantly open your screen
- Before start proceeding for changing the IP address, read out all the instruction which is written on the wizard page. After that, you have performed a simple task at first now.
- Suppose you are using the wizard to change the IP address for Management Server or the Messaging Server then click on the Check button to verify the network connection from the server for the Windows EBS.
- Otherwise, if you are running the wizard for the Security server then choose Next button and then choose the Choose a Network Adapter page. From there you have to select the internal network adapter that connects to your LAN. Now click Check to check the connections between the two network servers.
- Now form the Check Connectivity page verifies the connections of the network adapters properly.
- Thus now you have to choose to Change IP Address Settings page and perform the following steps: [A] Suppose if you want to change the IP address on the External Adapter of Security Server using the DHCP Server service to configure the IP address settings automatically the choose Use DHCP to automatically configure the IP address settings and click on Change.
[B] If suppose you want to change the IP address on the External Adapter of Security Server and you are going to configure the IP address settings manually then choose Manually Configure the IP address settings. Type the new IPV4 settings requirements on the particular area and click on the Change button to make changes. [C] If you want to change the IP address on the Internal Adapter of one of the Servers of Windows Essential Business Server then enter the details of IPV4 on the network adapter settings and click on Change.
Now the Progress of IP Address will open on your screen which will show you the overall progress to make changes to IP settings on Server PC. Now at last on the Finish page click on Close. That’s all you are done now.
Keep in mind that on changing the IP address of the Server PC, it will also affect the settings of clients PC as well. If you are using the Dynamic Host Control Protocol (DHCP) services for dynamic addressing then renew the IP config of those systems as well by updating them accordingly. You can also run this command ipconfig/renew on that systems.

That’s all about the total information which has provided here about the process to change server’s PC IP address. As we already told you earlier, this process is a little bit complicated as well. Just you need to follow all the steps carefully and then start to make changes on your PC by knowing all the available possible steps as well. Update all of your system settings very carefully thus there will be create no error during the process of changing IP.


